Read blog post: General‑Purpose AI Agents vs Dedicated Legal AI Tools in 2026General‑Purpose AI Agents vs Dedicated Legal AI Tools in 2026
Compare general-purpose AI agents with dedicated legal AI tools. Decision guide with UK/EU compliance lens for 2026.
JT
Jarmo Tuisk·Mar 19, 2026·11 min read
Standardizing team contract processes — how to avoid chaos as you grow
One colleague drafts contracts in Word, another uses Google Docs, a third sends PDFs via email. Sound familiar? When your team grows...
JT
Jarmo Tuisk·Mar 10, 2026·9 min read
Deepfakes, AI Fraud, and E-Signatures – What Actually Protects Against Identity Forgery?
In early 2024, a deepfake video call tricked an employee at a Hong Kong company into transferring $25 million. A cryptographic signature...
JT
Jarmo Tuisk·Feb 16, 2026·8 min read
Agrello January 2026: new features that make signing even more convenient
The new year started strong at Agrello. In January, three important updates landed on the platform: Lithuanian ADOC format support, shari...
JT
Jarmo Tuisk·Feb 6, 2026·3 min read
The Future of Office Work: Four Predictions for 2026
The end of a year invites reflection, and perhaps a little prophecy. For office work, this is particularly fraught territory. The past fe...
JT
Jarmo Tuisk·Dec 19, 2025·10 min read
SME Digital Transformation: Practical Steps for European SMEs in 2025
Small and mid-sized enterprises (SMEs) across Europe are at the heart of the economy, yet many still lag in digitalization. As we approac...
JT
Jarmo Tuisk·Nov 27, 2025·17 min read
Overview of Agrello’s E-Signature Coverage
Agrello provides a range of e-signing options that allow users to sign documents securely and in compliance with regional requirements. T...
JT
Jarmo Tuisk·Nov 14, 2025·6 min read
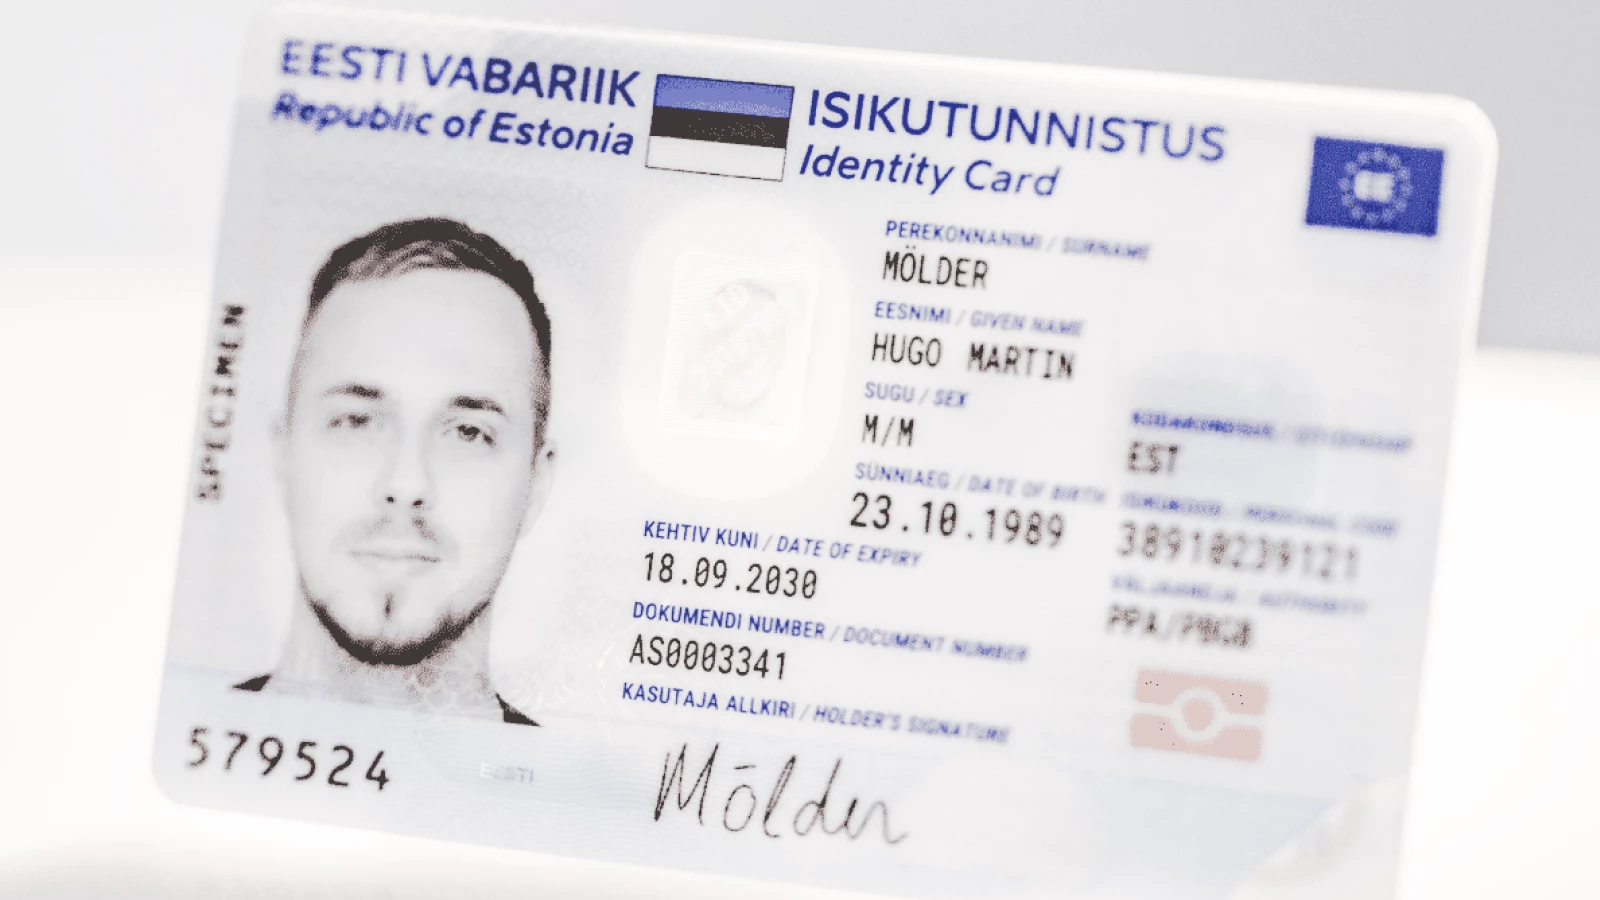
New Estonian ID Cards 2025: What You Need to Know?
In Estonia, the ID card has been part of our daily work and personal life for years. We use it to log into corporate information systems,...
JT
Jarmo Tuisk·Nov 7, 2025·7 min read
How the PROTO Discovery Centre HR Team Made Contract Management Simple and Stress-Free
When everyday HR tasks start to take too much time and energy, it’s a sign that things could be simpler. That’s exactly what Ina Tepp, HR...
JT
Jarmo Tuisk·Oct 30, 2025·9 min read
CSV Export for Agrello Forms – Eliminate Manual Data Entry
Every time someone signs a digital form, valuable business data gets created—but too often, that data becomes trapped in individual docum...
JT
Jarmo Tuisk·Oct 1, 2025·8 min read
From Paperwork to Smart Contracts: AI and RPA in HR Contract Management
The HR world is changing fast. Artificial intelligence (AI) and automation have surged into HR departments – HR-related automations have...
JT
Jarmo Tuisk·Sep 11, 2025·18 min read
EUDI Wallet Explained: The Future of Digital Identity in Europe
Across Europe more and more services – from bank accounts and insurance policies to university admissions and driving licences – are movi...
JT
Jarmo Tuisk·Jul 25, 2025·14 min read
How to Put Your Contracts on Autopilot: A Contract Template Playbook for 2025
Contract templates are a game-changer for small and medium-sized businesses. Instead of drafting each contract from scratch, SMBs can rel...
A
Agrello·Jun 5, 2025·31 min read
Agrello Forms - Required Signatures in Minutes, Not Hours
Managing document workflows shouldn't require endless email chains and manual follow-ups. Whether you're collecting NDAs from prospects,...
A
Agrello·May 30, 2025·5 min read
Diia E-Signature Support: Bridging Ukraine and EU Document Workflows
For millions of Ukrainian citizens living and working across the European Union, maintaining legal compliance while managing documents ha...
A
Agrello·May 30, 2025·6 min read
Beyond E-Signatures: Strategic Collaboration in Contract Workflows for Small Business
The way businesses handle contracts has evolved. Even small teams now juggle numerous agreements, from startup service contracts to local...
JT
Jarmo Tuisk·May 9, 2025·19 min read
Expired Contracts: Why Storing and Managing Them Matters
For small and medium-sized businesses (SMBs) and contract administrators, managing contracts doesn’t end when an agreement expires. In fa...
JT
Jarmo Tuisk·May 2, 2025·27 min read
Cross-Border Digital Identity and E-Signing in the Baltic States: A Practical Guide for SMEs
Small and medium-sized enterprises (SMEs) in Estonia, Latvia, and Lithuania operate in one of the world’s most digitally advanced regions...
JT
Jarmo Tuisk·Apr 24, 2025·40 min read
eIDAS 2.0: Secure Digital Identity and E-Signing Across the EU
The way we identify ourselves and sign documents online is about to change—radically and for the better. With the introduction of eIDAS 2...
JT
Jarmo Tuisk·Apr 3, 2025·10 min read
Environmental Impact of E-Signing – How Digital Documents Can Save the Planet?
Businesses and governments worldwide are embracing digital documentation to streamline operations and meet sustainability goals. Replacin...
JT
Jarmo Tuisk·Mar 27, 2025·22 min read
eIDAS 2.0: The Future of EU Digital Identity and Authentication by 2030
The European Union's digital landscape is undergoing a significant transformation with the evolution of the eIDAS regulation. Originally...
JT
Jarmo Tuisk·Mar 20, 2025·13 min read
Best Automation Platforms for Document & Contract Management
Efficient document automation is crucial for modern businesses. Automating contracts and document generation saves valuable time, reduces...
JT
Jarmo Tuisk·Mar 13, 2025·9 min read
AI Agents and the Future of Office Automation: Where Does E-Signing Fit?
Office work is undergoing a digital revolution powered by artificial intelligence (AI). From smart scheduling tools to automated data ent...
JT
Jarmo Tuisk·Mar 6, 2025·20 min read
Learn How AI tools like ChatGPT Simplify Employment Contract Management
Managing employment contracts in high-turnover industries such as retail, hospitality, and staffing presents ongoing challenges. With fre...
JT
Jarmo Tuisk·Feb 19, 2025·17 min read
Top Document Automation Tools for Streamlining Your Workflow in 2025
Manual document handling often leads to inefficiencies, human error, and unnecessary delays in workflows. Businesses handling high volume...
A
Agrello·Jan 23, 2025·9 min read
7 Things Not to Do When Using ChatGPT for Legal Contract Drafting
Using ChatGPT for drafting legal contracts can save time and streamline the process of creating agreements. However, like any tool, it co...
JT
Jarmo Tuisk·Jan 16, 2025·4 min read
What Should You Know About eIDAS When E-signing Business Contracts in the EU?
In the digital age, electronic signing has become an everyday tool for both businesses and individuals, enabling documents to be signed q...
JT
Jarmo Tuisk·Nov 19, 2024·8 min read
Agrello for Word Add-in - Getting Started Guide
The Agrello for Word Add-in simplifies sending documents for electronic signatures directly from Microsoft Word. Step-by-step setup gui...
JT
Jarmo Tuisk·Nov 18, 2024·6 min read
Agrello Adds Support for Latvia’s EDOC e-Signature Format
At Agrello, we're continuously expanding our platform to make digital signing more accessible, secure, and compliant for all our users. T...
JT
Jarmo Tuisk·Oct 30, 2024·5 min read
AI in Legal: How ChatGPT Simplifies Contracts for Small Businesses
Navigating legal documents is often a daunting task, especially for small and medium enterprises (SMEs). Contracts, Terms of Service agre...
JT
Jarmo Tuisk·Oct 10, 2024·9 min read
Setting Up Your Agrello Account
This guide will walk you through the process of setting up your account, explain what happens behind the scenes, and give you an overview...
JT
Jarmo Tuisk·Jul 29, 2024·3 min read
The Evolution of Signing Processes: From Paper to Digital Signatures
In this post we will look at how signatures have evolved, and how you can avoid trying to sign a contract by trekking on horseback.
LF
Laura Findley·Sep 15, 2023·10 min read
Signing a Contract Without Understanding It: A Guide for Savvy Professionals
Contracts are an integral part of any business. From employment agreements to vendor contracts, these legal documents outline the terms a...
MK
Marit Karjus·Jul 7, 2023·9 min read
Secure Your PDF Documents with PAdES Signatures
In the digital age, the use of electronic signatures has become increasingly popular. However, with the growing use of digital signatures...
PS
Paula Sepp·Apr 18, 2023·4 min read
Bulk create documents from the template
Solution for simpler one-off bulk creation and filling the documents for signing.
JT
Jarmo Tuisk·Sep 5, 2022·6 min read
How to create Agrello templates?
Are you tired of recreating the same documents over and over? Do you wish there was a way to streamline your contract creation process an...
JT
Jarmo Tuisk·Mar 16, 2022·4 min read
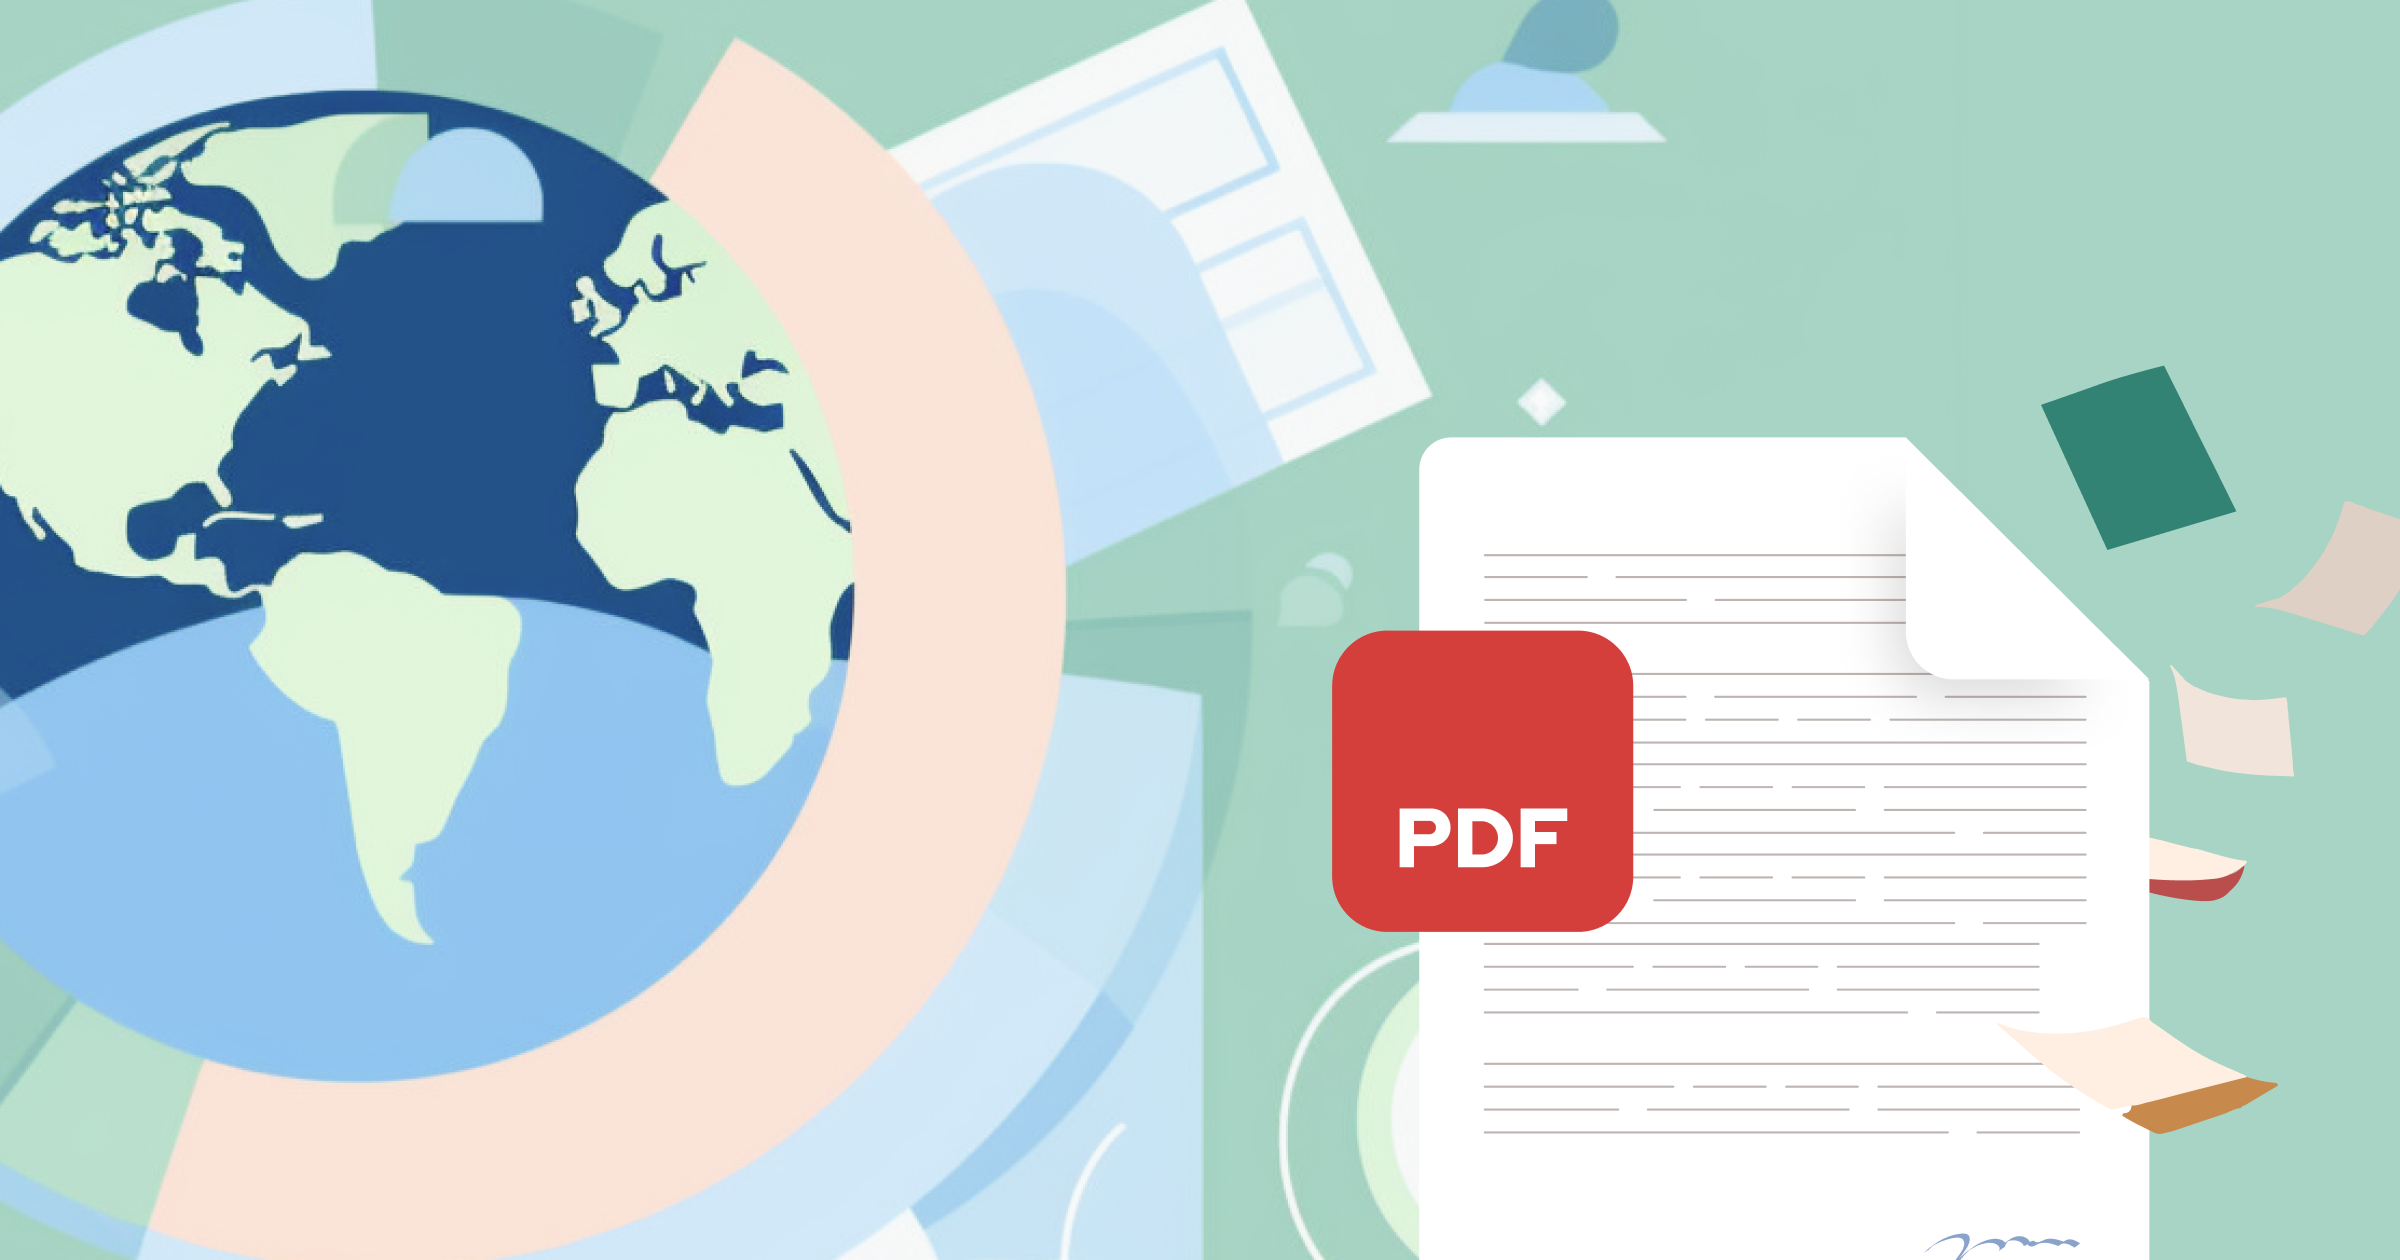
PDF vs ASiC: Choosing the Right Document Format for Secure Signing
Choosing the right format for your documents in Agrello platform.
JT
Jarmo Tuisk·Mar 16, 2022·2 min read
What are document templates in Agrello?
Agrello templates provide a way to create new contracts by reusing existing files. By utilizing Agrello templates, users can easily custo...
PS
Paula Sepp·Mar 16, 2022·2 min read